
Reccy makes gear for India's trails, heat, and monsoons — and we're on a mission to help 10 million Indians get out. This piece first ran in our newsletter, Get Out with Reccy. Subscribe on Substack to get the next one first.
You’ve booked the trek. EBC, Hampta Pass, Roopkund — something you’ve been putting off for two years. You’re eight weeks out and it has just occurred to you that your current fitness routine consists of walking to the car.
The gym membership you’ve been meaning to get still doesn’t exist. The hills near your apartment in Bandra or Koramangala are also largely hypothetical. You work a desk job, you have about 45 minutes a day, and you need to be able to walk uphill for six hours with a 10 kg pack in two months.
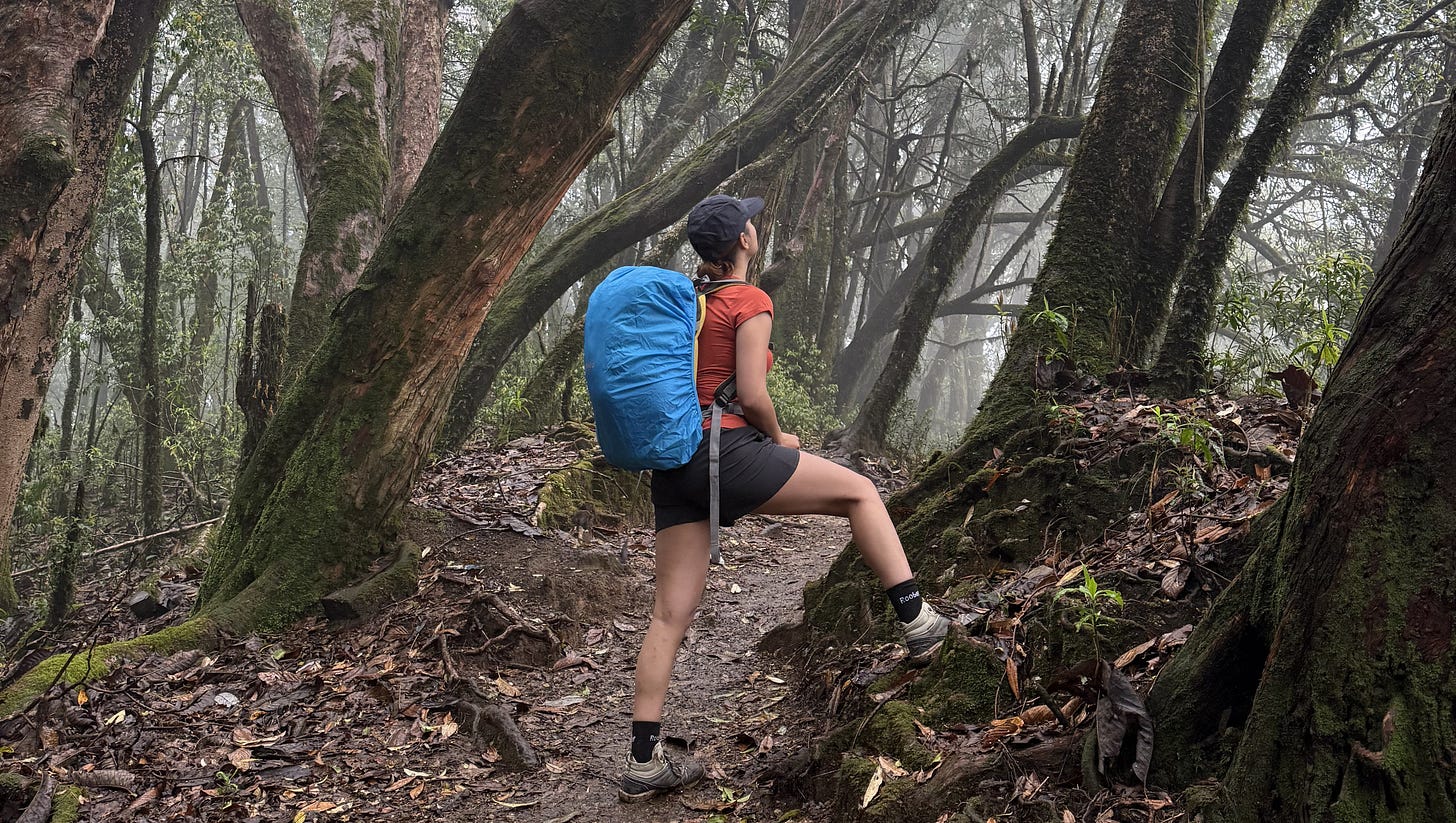
This is more achievable than it sounds. Everything you need is already around you — your building’s staircase, a 2 km stretch of road, and a floor. The training that prepares you for a Himalayan trek doesn’t require a gym. It requires the right kinds of movement, done consistently, for eight weeks.
Why Trek Fitness Is Different From General Fitness
This is the part most people miss — and why people who consider themselves fit still struggle on a Himalayan trek.
A trek asks your body for something very specific: sustained low-intensity effort for many hours, over many consecutive days, at altitude, with a pack on your back and uneven terrain underfoot. This is not a sprint or a HIIT workout. It’s closer to walking upstairs for six hours while carrying a loaded school bag.
Two things in particular catch people out. First, your cardiovascular system needs to sustain effort — not peak at it. Going to the gym three times a week and pushing hard is useful, but it doesn’t build the aerobic base your body needs to move comfortably for hours without stopping. Second, downhill trekking places intense demand on your quadriceps — the muscles that brake your body against gravity with every descending step. This eccentric demand, where the muscle lengthens under tension, is barely touched by most general exercise. You can have strong legs in the gym sense and still be wrecked by a long Himalayan descent.
The good news: both are trainable. And neither requires equipment.
A desk job also works against you in a specific way. Sitting for eight to ten hours a day tightens your hip flexors and inhibits your glutes — the two muscle groups that do the most work on a steep climb. Training corrects this.
The One Exercise That Replaces Everything
If you could do only one thing to prepare for a trek, it would be stair climbing. Not because it’s the most complete training tool — it isn’t — but because it directly mimics what a trek asks of your body better than any other no-equipment exercise available in a city.
Climbing stairs requires the same muscle groups as ascending a Himalayan trail — quads, glutes, calves — under the same kind of gravitational resistance. It builds both cardiovascular endurance and leg strength simultaneously. Studies confirm that a consistent stair-climbing programme can improve cardiovascular fitness by 8 to 12 percent in six weeks, starting from a sedentary baseline. Stair climbing is also 20 to 60 percent more metabolically demanding than walking the same distance on flat ground — meaning the cardio benefit arrives faster and more efficiently than a flat road walk of the same duration.
Crucially, going downstairs trains your quads eccentrically — the same braking contraction that tires out most trekkers on long descents. This is something a flat road walk or a treadmill does not provide. Your staircase is, in many ways, a more complete trek training tool than a gym treadmill.
How to use the staircase
Start with 15 minutes of continuous stair climbing — up and down, no elevator — three days a week. Build to 30 minutes by week four. From week five, add a small loaded daypack (4 to 6 kg) for your stair sessions. The pack changes the demand significantly — your back, core, and hip stabilisers all begin working in the way they will on the trail.
The most important thing: go at a pace you can sustain for the full session. Not slow, but not breathless. If you can hold a conversation, you’re in the right zone. If you’re gasping, slow down. You’re training aerobic endurance, not intensity.
Four Exercises to Do at Home
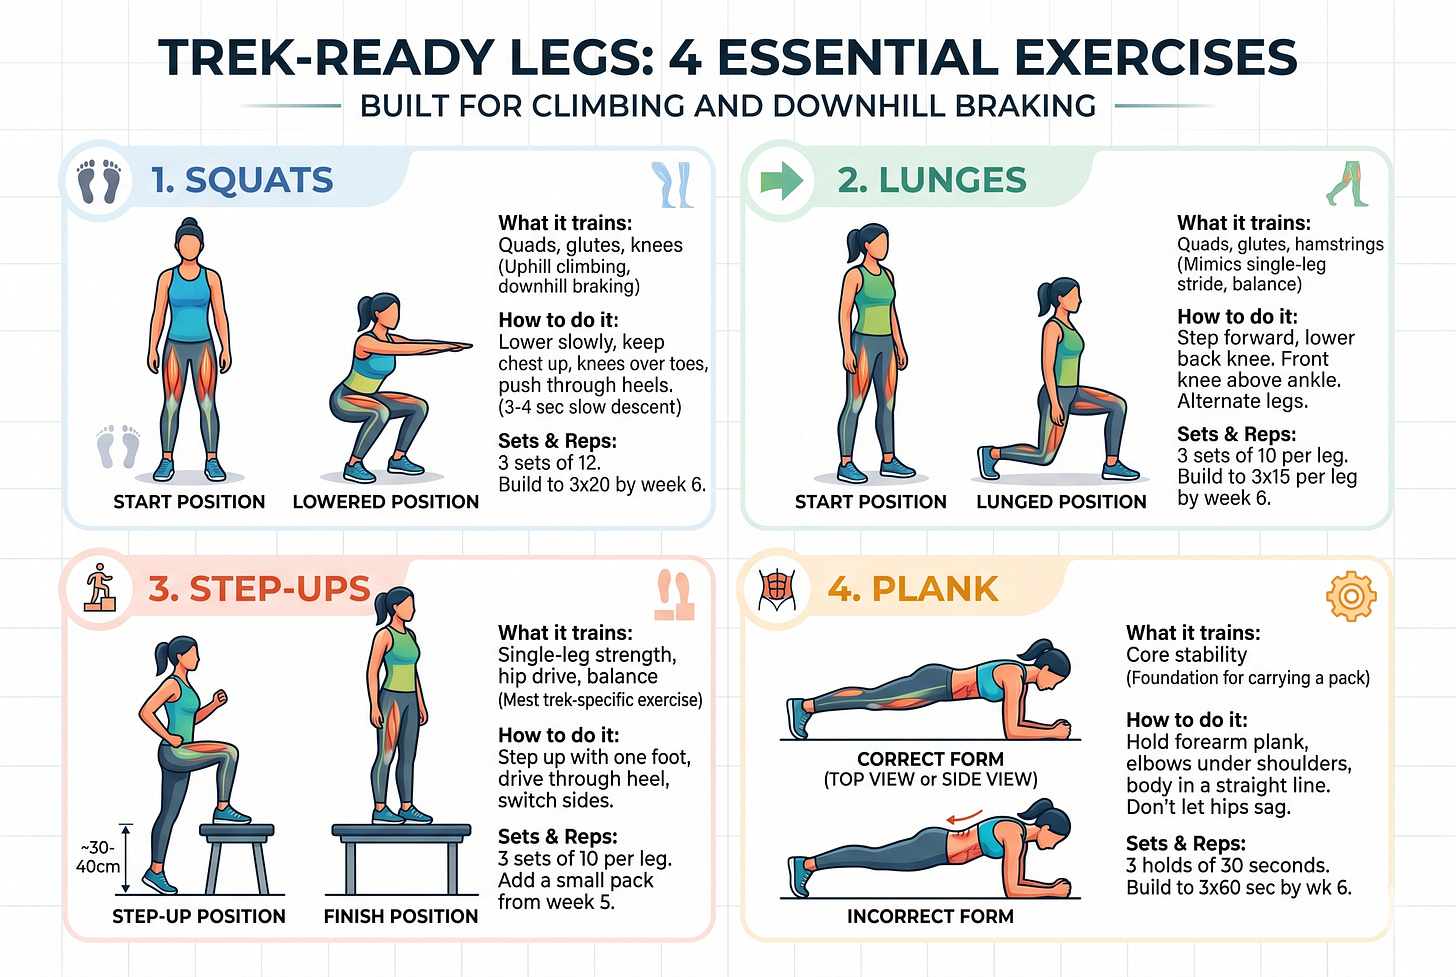
These four require nothing but floor space and a step or low surface. Two sessions per week, on non-stair days, is sufficient. They target the specific muscles that carry you uphill, stabilise you on uneven ground, and protect your knees on the way down.
1. Squats
What it trains: Quads, glutes, and knees — the primary muscles for uphill climbing and downhill braking.
How to do it: Stand with feet shoulder-width apart, toes turned slightly out. Lower slowly until thighs are roughly parallel to the floor, keeping your chest up and knees tracking over your toes. Push back up through your heels. Lower over three to four seconds — the slow descent is what trains your quads for braking.
Sets and reps: 3 sets of 12. Build to 3 sets of 20 by week six.
2. Lunges
What it trains: Quads, glutes, and hamstrings — while also challenging balance on one leg, mimicking the single-leg demand of every step on the trail.
How to do it: Step forward with one foot and lower your back knee toward the floor until both knees form roughly 90-degree angles. Keep your front knee above your ankle, not shooting past your toes. Push back through your front heel to return to standing. Alternate legs.
Sets and reps: 3 sets of 10 per leg. Build to 3 sets of 15 per leg by week six.
3. Step-Ups
What it trains: The most trek-specific exercise available. Directly mimics stepping up onto a rock, log, or steep trail section — single-leg strength, hip drive, and balance combined.
How to do it: Use a sturdy step, low wall, or bench 30 to 40 cm high. Step up with your right foot, drive through your right heel to bring your left foot up to meet it, then step back down. Complete all reps on one side before switching.
Sets and reps: 3 sets of 10 per leg. Add a small pack from week five.
4. Plank
What it trains: Core stability — the foundation that holds your posture upright when carrying a pack for hours. A weak core means a rounded back, compressed breathing, and lower back pain by day two of a multi-day trek.
How to do it: Hold a forearm plank — elbows directly under shoulders, body in a straight line from head to heels, hips level. Don’t let the lower back sag or hips rise. Breathe steadily throughout.
Sets and reps: 3 holds of 30 seconds. Build to 3 holds of 60 seconds by week six.
The Weekend Walk — Your Most Important Training Session
Everything above builds the engine. The weekend walk is what teaches your body to use it for hours at a time.
Trekking is walking. Not running, not cycling, not spinning. The best preparation for walking uphill for six hours is walking uphill for progressively longer durations over the weeks before your trek. No piece of equipment replaces the simple act of putting on your trekking shoes, loading a small pack, and walking for as long as you can manage.
Start at 60 to 90 minutes in week one — flat ground, easy pace. Add 15 to 20 minutes each weekend. By week seven you should be doing a three to four hour walk, ideally on terrain with some incline: a hill, a coastal path, a flyover approach, any gradient you can find. Wear the exact shoes and pack you’ll use on the trek. This also breaks in the footwear and tells you early whether something needs adjusting before you’re five days from a road.
Two things matter more than distance on these walks. First, duration — time on your feet is the training variable, not kilometres covered. Second, the pack. Add 2 kg in week three. Build to 6 to 8 kg by week seven. Carrying weight changes how your core, hips, and ankles recruit, and your body needs to learn this before the trail.
Running — Useful, But Not Compulsory
Running is the most efficient way to build the cardiovascular base that high-altitude trekking demands. If you run already, keep running — it’s doing more for your trek preparation than almost anything else. If you don’t run, you don’t need to start specifically for this.
What running provides — sustained aerobic effort — can also be achieved through stair climbing, brisk walking with a pack, and cycling. The goal is to raise your heart rate into a moderate aerobic zone (conversational but not effortless) and hold it there for 30 to 45 minutes, three to four times a week. How you get there is secondary.
If you do want to start running as part of your preparation, begin with 20-minute brisk walks and introduce short jogs of 2 to 3 minutes into them. Build gradually. By week six, aim for 4 to 5 km at a comfortable pace — not fast, just sustained.
The 8-Week Framework
This is not a rigid plan — it’s a framework. Adjust based on your starting fitness and how your body responds. The principle is consistent: build gradually, prioritise duration over intensity, and don’t skip the weekend walks.
Weeks 1–2 — Build the base
Stairs: 15 minutes, 3 days a week. No pack yet.
Strength: Squats, lunges, step-ups, plank. 2 days a week. 3 sets of 10 each.
Weekend walk: 60 to 90 minutes on flat ground with a light 2 kg pack. Focus on comfortable sustained effort.
Weeks 3–4 — Add duration
Stairs: 25 minutes, 3 days a week. Add a 3 to 4 kg pack in week four.
Strength: Same exercises, increase reps to 3 sets of 15. Increase plank holds to 45 seconds.
Weekend walk: 2 to 2.5 hours. Add 4 kg to your pack. Find any incline you can.
Weeks 5–6 — Build load
Stairs: 30 minutes, 3 days a week. Carry 5 to 6 kg pack throughout.
Strength: Build to 3 sets of 20 squats and lunges. Step-ups with a light pack. Plank holds to 60 seconds.
Weekend walk: 2.5 to 3 hours. 5 to 6 kg pack. Prioritise terrain with incline — stairs, hills, any elevation you can find.
Weeks 7–8 — Consolidate
Stairs: 30 minutes, 3 days a week with pack. Maintain, don’t push harder.
Strength: Maintain week five and six levels. This week is about consistency, not increase.
Weekend walk: Week seven: 3 to 4 hours with 6 to 8 kg — your closest simulation of a real trek day. Week eight: 90 minutes only. Let your body rest before the trek.
One Honest Thing About Altitude
Training at sea level cannot replicate what your body experiences above 3,000 metres. At altitude, the air has less oxygen, and your cardiovascular system has to work harder to deliver the same amount to your muscles — regardless of how fit you are. VO2 max (your body’s maximum oxygen uptake) drops by roughly 1 percent for every 100 metres above 1,500 metres. At 4,000 metres, that’s a meaningful reduction. Even well-trained athletes feel it.
This is not a reason not to train. It’s a reason to understand what training does and doesn’t do. Being fit means that altitude is the only variable you’re managing on trek, rather than both altitude and fitness simultaneously. It means your lungs and legs have capacity to spare when the air gets thin. It means you recover overnight rather than arriving at each new campsite already depleted.
What no amount of sea-level training prevents is the need to acclimatise. The standard guidance — ascend no more than 300 to 500 metres of sleeping altitude per day above 2,500 metres, build in rest days, hydrate consistently — applies equally to the fittest and least-fit trekker. Arrive a day early at your base if you can. Don’t rush the first two days on trail. Let the altitude do what it does, and let your fitness carry you through the rest.
Eight weeks is enough time to make a meaningful difference to how you experience a Himalayan trek. Not enough to transform your fitness from scratch, but enough to build the specific cardiovascular base, leg strength, and load-carrying capacity that the trail demands.
The desk job is not a disadvantage. It’s a starting point. And the staircase you walk past every day has been a training tool the whole time.
Get Out.
Know someone who’s booked a trek and is quietly panicking about fitness? Forward this to them. It’s exactly what they need right now.